USB OTG
Copyright © Quectel Wireless Solutions Co., Ltd. 2026. All rights reserved.
USB On-The-Go (USB OTG) is a supplementary standard to USB 2.0 that allows a device to switch between USB peripheral mode and host mode. Quectel Pi H1 supports USB OTG functionality. Through its onboard Type-C port, you can directly connect USB peripherals (such as USB flash drives, keyboards, mice, and network adapters) in host mode — without needing a PC for data reading or control operations.
This document describes how to use the USB Ethernet emulation (RNDIS) feature via the USB OTG interface to establish network connectivity and sharing between Quectel Pi H1 and a host computer.
Hardware interface
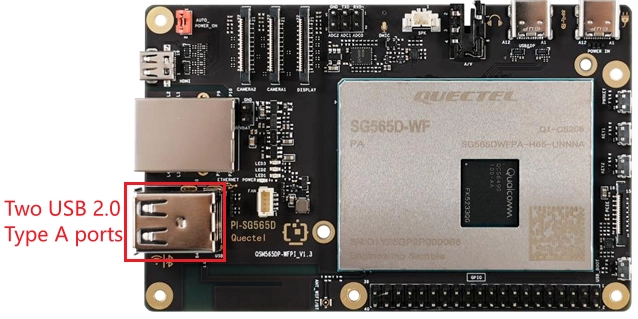
USB Ethernet Emulation Overview
USB Ethernet emulation (RNDIS) creates a virtual Ethernet link between the device and the host over a USB cable, enabling network communication without requiring an additional physical network adapter.
Quectel Pi H1’s default USB OTG gadget configuration includes RNDIS functionality (bundled with DIAG and ADB). After connection, a usb0 network interface appears on the Quectel Pi H1 side.
Once the connection is established, it can be used for:
Remote login (SSH)
File transfer (SCP / SFTP)
Network sharing (host shares network to device, or device shares network to host)
Debugging service access
Connecting to a Linux Host
Basic Connection Setup
Use a USB data cable to connect the Type-C port of Quectel Pi H1 to a USB port on the Linux host.
On Quectel Pi H1, verify that the
usb0interface exists, then enable and assign an IP address:
sudo ip link show usb0
sudo ip link set usb0 up
sudo ip addr add 192.168.0.5/24 dev usb0
sudo ip addr show usb0
On the Linux host, identify the newly added USB RNDIS network interface name (usually starts with
enx), for exampleenx2a8b155b2e00:
ip link
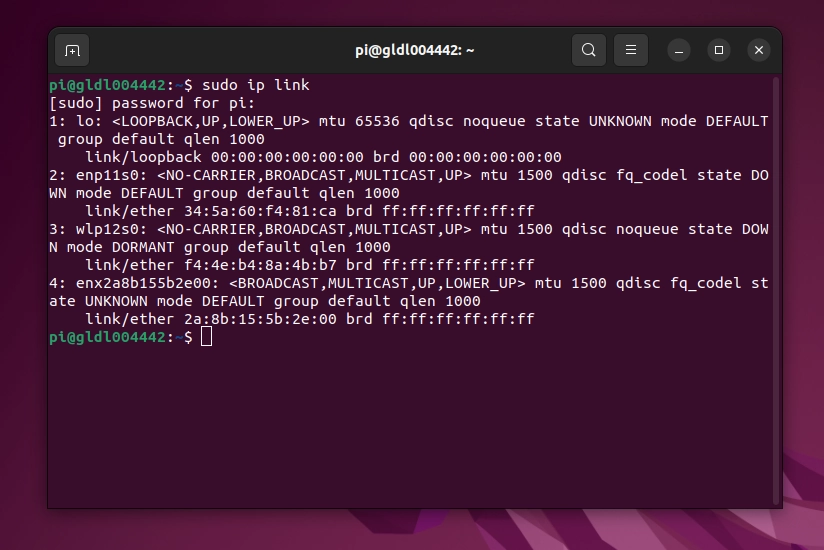
On the Linux host, assign an IP address to this interface:
sudo ip link set enx2a8b155b2e00 up
sudo ip addr add 192.168.0.6/24 dev enx2a8b155b2e00
Replace
enx2a8b155b2e00with the actual interface name detected on your host.
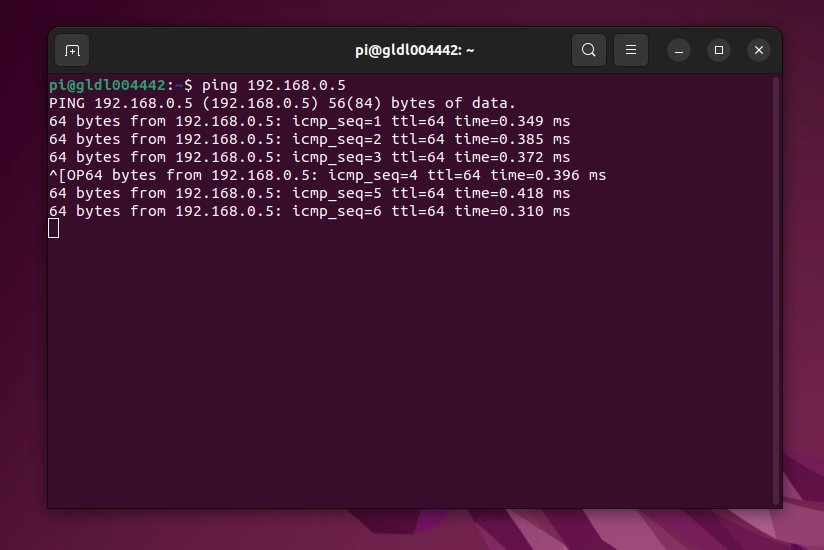
Test connectivity:
ping 192.168.0.5
A successful response indicates the RNDIS connection has been established.
Connecting to a Windows Host
Basic Connection Setup
Use a USB data cable to connect the Type-C port of Quectel Pi H1 to a USB port on the Windows host.
On Quectel Pi H1, verify that the
usb0interface exists, then enable and assign an IP address:
sudo ip link show usb0
sudo ip link set usb0 up
sudo ip addr add 192.168.7.1/24 dev usb0
sudo ip addr show usb0
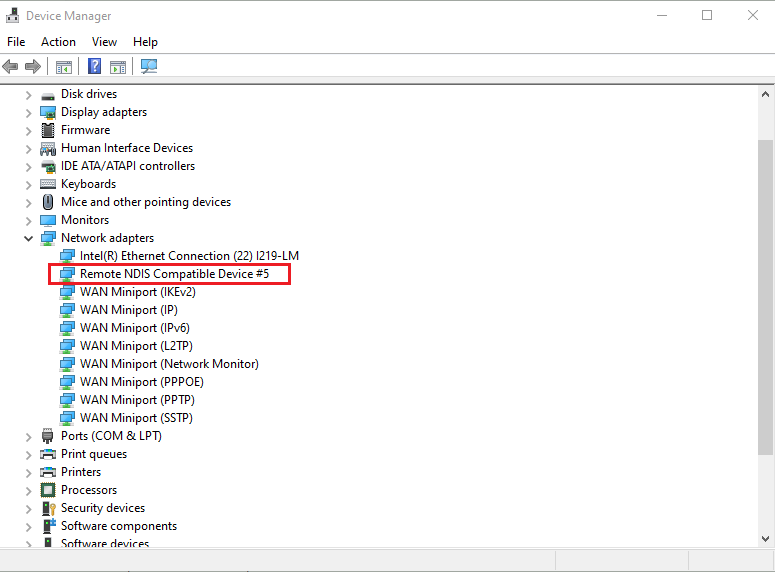
On Windows, identify the newly added USB RNDIS adapter.
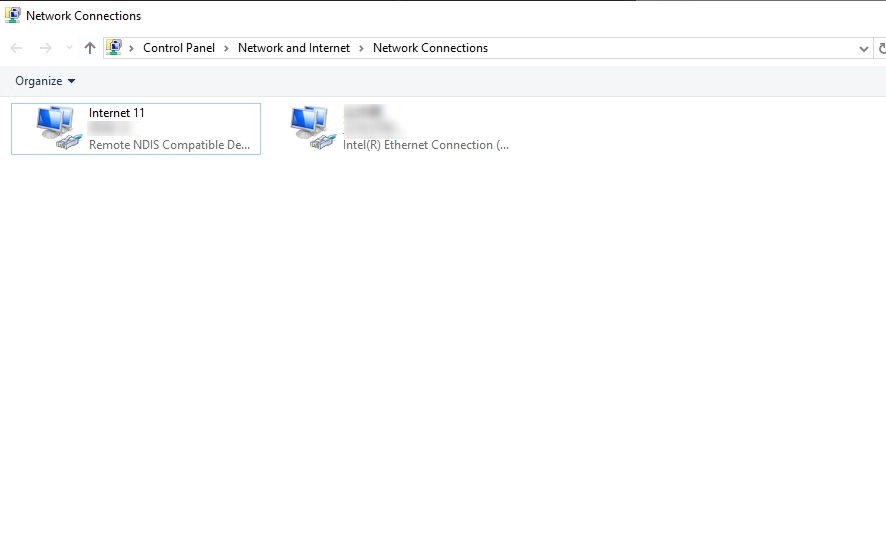
In Device Manager, you will see Remote NDIS Compatible Device under Network adapters. A new Ethernet connection will appear in Network Connections.
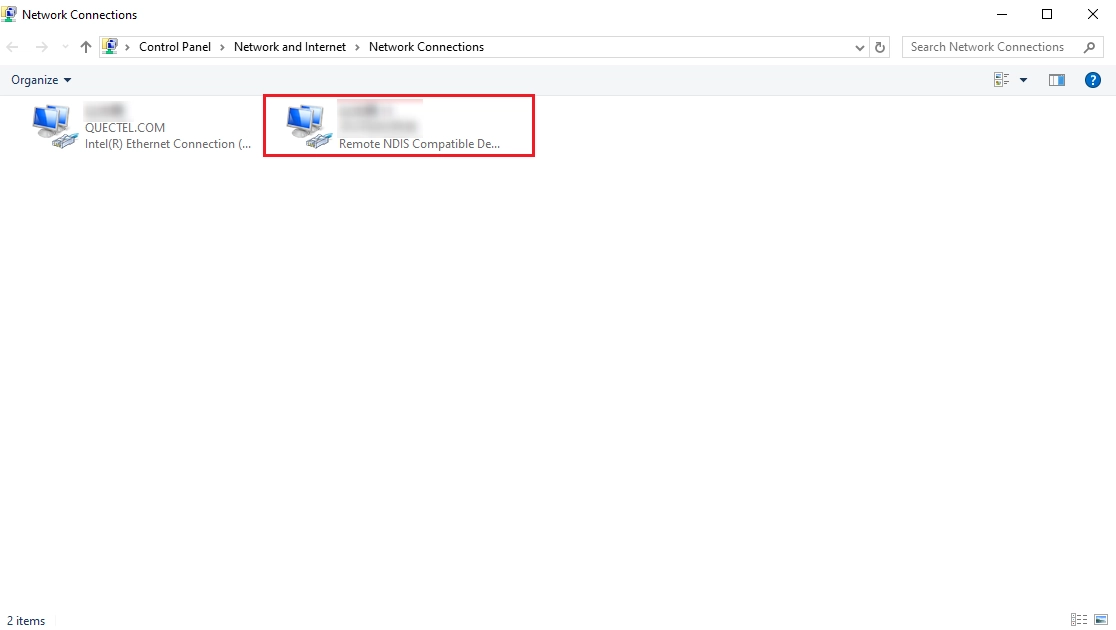
Configure the USB network adapter IP on Windows.
Open Network Settings, locate the newly added unidentified network, manually set the IP address to an address in the same subnet as Quectel Pi H1 (e.g., 192.168.7.2), and save.
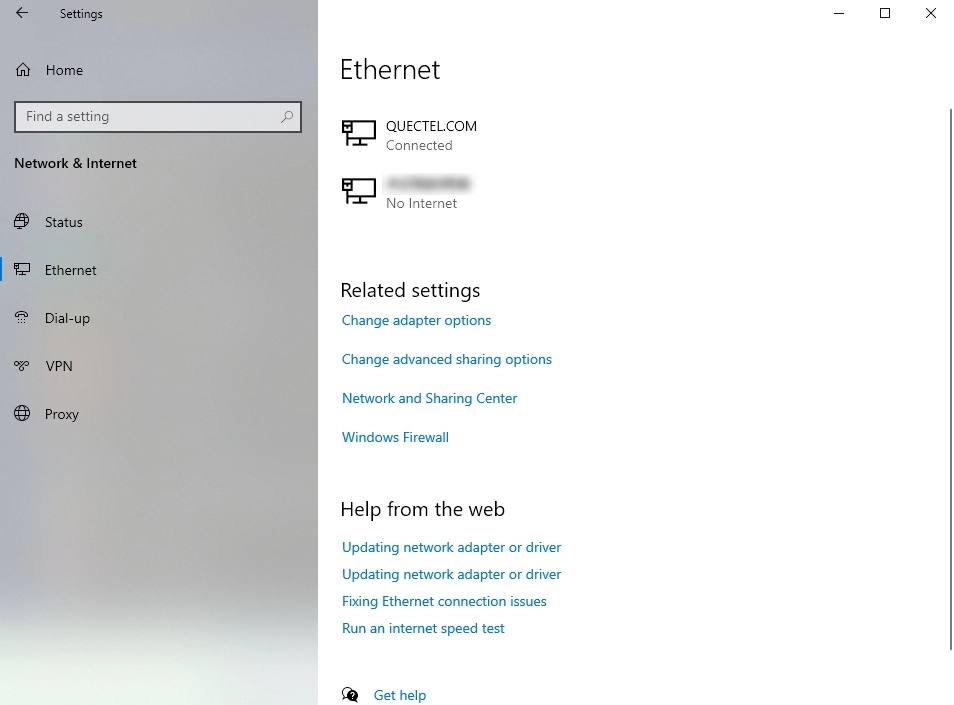
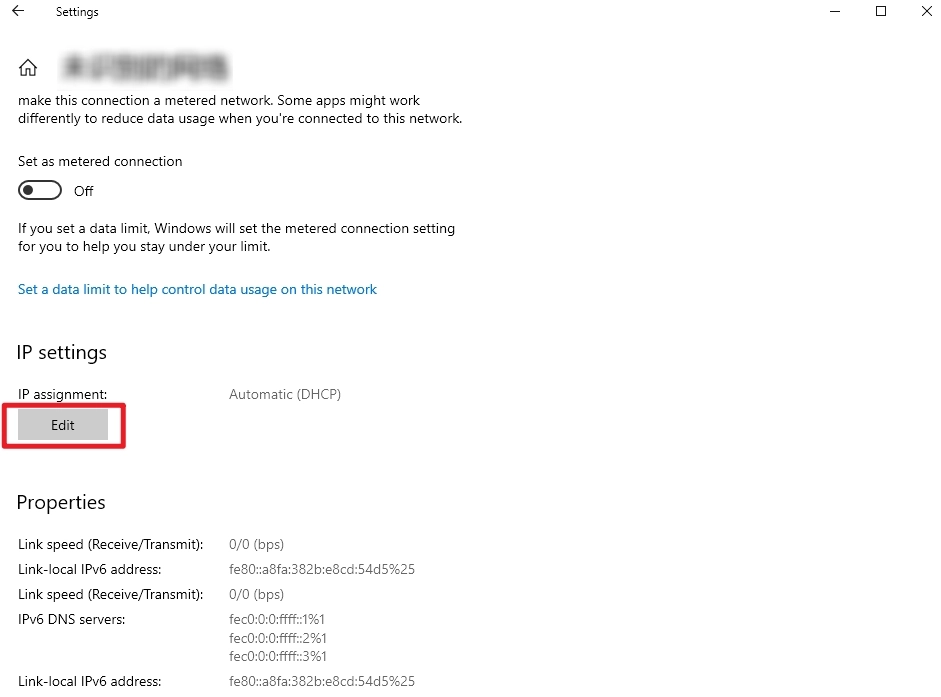
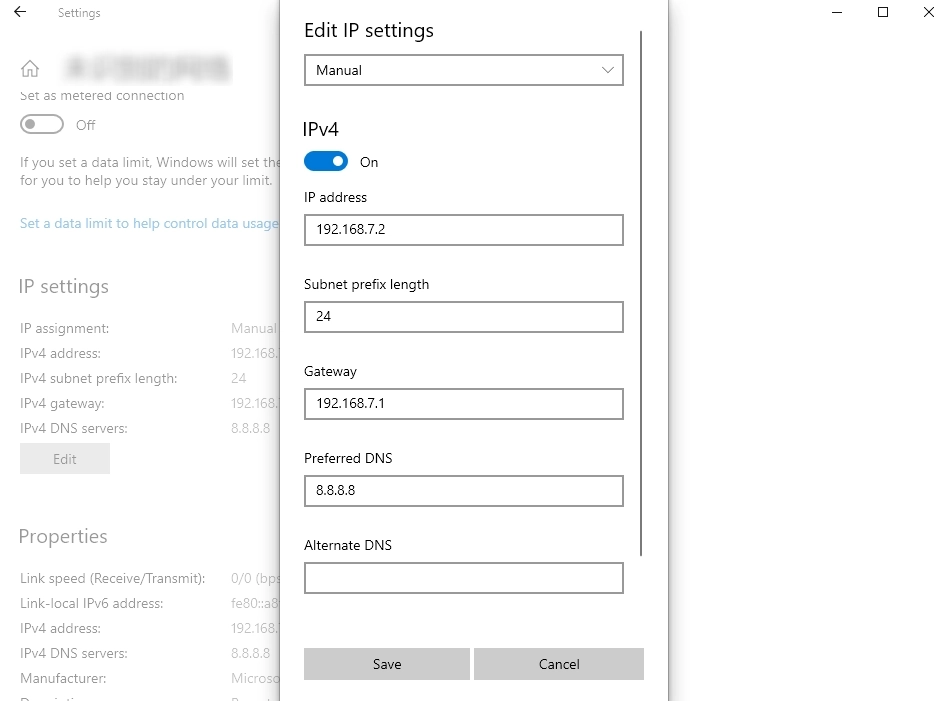
Test connectivity:
ping 192.168.7.1
A successful response indicates the RNDIS connection has been established.
Sharing Network from Windows Host to Device
When the Windows host already has internet access via Ethernet or Wi-Fi, you can share the network with Quectel Pi H1 using Internet Connection Sharing (ICS).
Open the Network Connections page: Press
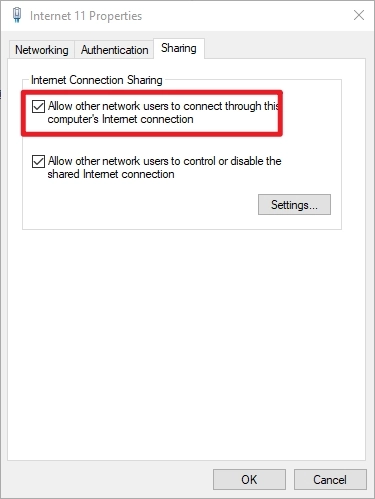
Win + R, typencpa.cpl, and press Enter.Enable Internet Connection Sharing: Right-click the network adapter that currently has internet access (e.g., WLAN or Ethernet), select Properties → Sharing tab, check Allow other network users to connect through this computer’s Internet connection.
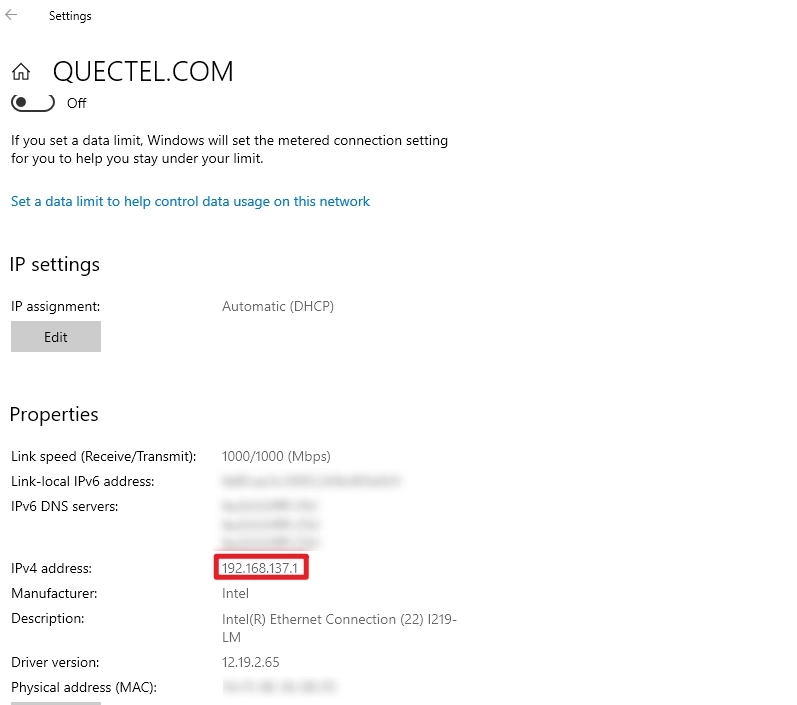
After enabling sharing, Windows typically sets the USB RNDIS adapter address to
192.168.137.1/24.
Reconfigure the
usb0IP on Quectel Pi H1 (must match the subnet assigned by Windows):
sudo ip addr flush dev usb0
sudo ip link set usb0 up
sudo ip addr add 192.168.137.2/24 dev usb0
sudo ip addr show usb0
Add a default route on Quectel Pi H1:
sudo ip route replace default via 192.168.137.1 dev usb0
Configure DNS on Quectel Pi H1:
sudo sh -c 'printf "nameserver 8.8.8.8\n" > /etc/resolv.conf'
Verify internet access from Quectel Pi H1:
ping 8.8.8.8
ping www.quectel.com
If you can
pinga public IP but cannot resolve domain names, check the DNS configuration. If Windows did not set the USB RNDIS adapter to192.168.137.1, use the actual IP shown and ensure Quectel Pi H1’susb0is in the same subnet.
Sharing Network from Device to Windows Host
When Quectel Pi H1 already has internet access via another interface, you can share the network with the Windows host.
Run
ip route get 8.8.8.8on Quectel Pi H1 to determine the actual WAN interface.
Enable IPv4 forwarding on Quectel Pi H1:
sudo sysctl -w net.ipv4.ip_forward=1
Configure NAT forwarding on Quectel Pi H1:
sudo iptables -t nat -A POSTROUTING -o eth0 -j MASQUERADE
sudo iptables -A FORWARD -i usb0 -o eth0 -j ACCEPT
sudo iptables -A FORWARD -i eth0 -o usb0 -m state --state RELATED,ESTABLISHED -j ACCEPT
If
iptablesis not found, install it via apt:
sudo apt update sudo apt install iptables
On Windows, set the gateway to Quectel Pi H1's IP (e.g., `192.168.7.1`).
```{image} images/image_ECR3bXSHUo41YAxzv1DcpfzLnie.webp
:width: 946px
:height: 701px
Verify internet access from Windows (it is recommended to temporarily disable other network connections to avoid interference):
ping 8.8.8.8
ping www.quectel.com
If Quectel Pi H1 is connected via cellular or another interface, replace
eth0with the actual WAN interface.
Troubleshooting
Symptom |
Troubleshooting Steps |
|---|---|
No usb0 interface on Quectel Pi H1 |
Verify the Type-C cable supports data transfer; run sudo qusb showpid to check if the USB composition mode includes RNDIS or NCM |
No new network adapter on the host |
Replug the cable and check dmesg | tail -n 50 (Linux) or Device Manager (Windows) to see if USB Ethernet / RNDIS device is detected |
Can ping public IP but cannot resolve domain names |
Check /etc/resolv.conf or system DNS configuration |
Still cannot access the internet after configuring NAT |
Verify the default route points to the peer USB adapter address; run iptables -t nat -L -n -v to check if forwarding rules are active |